
The Ultimate Guide to Transplanting Black Seeds
Key Takeaways
| Key Points | Details |
|---|---|
| Importance of transplanting | Promotes healthy plant growth and maximizes yield. |
| Preparation tips | Soil preparation, timing, and environmental factors. |
| Step-by-step guidance | Clear instructions for successful transplanting. |
| Advanced techniques and troubleshooting | Tips for optimizing results and solving common issues. |
1. Introduction and Basics
Why transplanting black seeds is crucial for optimal growth
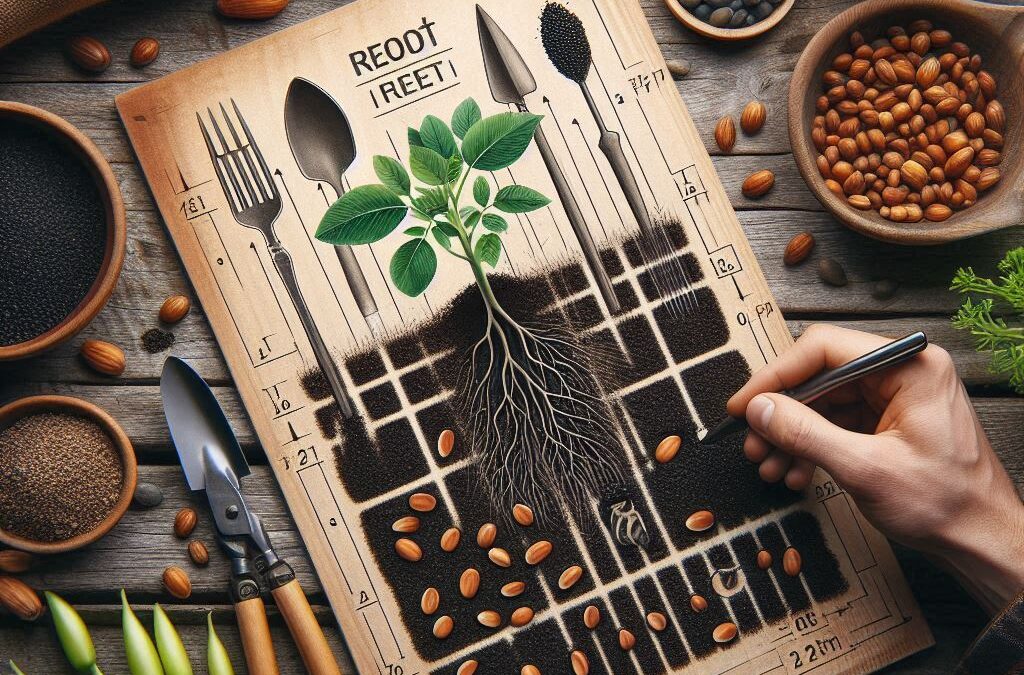
Transplanting black seeds ensures they grow strong and healthy. Moving seedlings allows their root systems to expand, giving them access to nutrients and reducing competition. Think of it as giving them a new home to thrive. Without proper transplanting, your plants could stay stunted.

Transplanting Black Seeds
Table: Transplanting Benefits Overview
| Benefit | Description |
| Stronger roots | Roots spread deeper and absorb nutrients effectively. |
| Higher survival rates | Plants adapt better to new environments. |
| Reduced competition | Prevents overcrowding and promotes healthy growth. |
Common mistakes to avoid when transplanting black seeds
Avoid these pitfalls:
- Overwatering: Can drown young roots. Keep the soil moist, not soggy.
- Transplant shock: Handle seedlings gently to avoid root damage.
- Wrong timing: Don’t transplant during extreme weather conditions.
2. Preparation Before Transplanting
How to prepare soil for transplanting black seeds effectively
Great soil makes happy plants! Start by using organic compost to enrich the soil with nutrients. Ensure the soil is loamy and well-drained—black seeds hate sitting in water. Add a layer of mulch to lock in moisture after transplanting.
Transplanting Black Seeds
Table: Soil Preparation Essentials
| Step | Action |
| Test soil pH | Ensure soil is slightly acidic (6.0-7.0). |
| Mix organic matter | Add compost or manure for nutrients. |
| Create proper drainage | Add sand or perlite for water flow. |
Key factors to consider when transplanting black seeds
Pay attention to:
- Season: Spring is best, as temperatures are moderate.
- Spacing: Keep seedlings at least 6-8 inches apart.
- Weather conditions: Avoid transplanting on windy or extremely hot days.
3. Step-by-Step Process
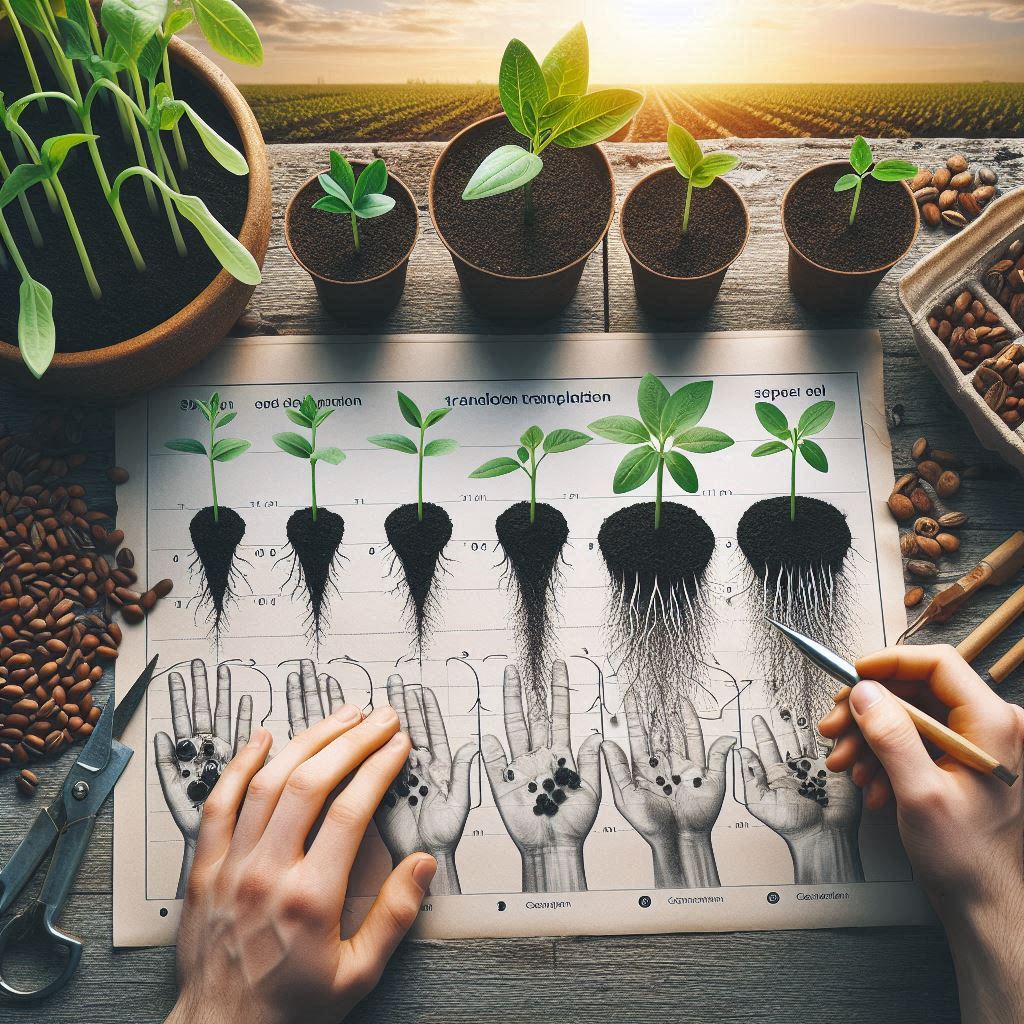
Step-by-step guide for transplanting black seeds at home
Here’s how to transplant black seeds like a pro:
- Prepare the new location: Loosen the soil and mix in compost.
- Water the seedlings: Keep them hydrated before moving.
- Gently remove seedlings: Use a garden trowel to lift them with soil intact.
- Plant in new holes: Make holes twice as wide as the roots.
- Backfill with soil: Firmly press soil around the base.
- Water lightly: Avoid waterlogging to prevent rot.
Bullet Points: Quick Steps for Black Seed Transplanting
- Pick a cloudy day to avoid transplant shock.
- Always handle seedlings by the base, not the stem.
- Add a support stick if seedlings are weak.
- Monitor for the first few days to ensure successful rooting.

Transplanting Black Seeds
4. Techniques and Advanced Tips
Best practices for transplanting black seeds successfully
Want even better results? Try these advanced tricks:
- Use root stimulators to promote faster growth.
- Create a microclimate by covering transplants with garden fabric.
- Rotate crops yearly to reduce soil depletion.
Table: Tools and Techniques for Advanced Growth
| Tool/Technique | Purpose |
| Root stimulator | Boosts root development post-transplant. |
| Garden fabric | Protects seedlings from pests and temperature. |
| Raised beds | Improves drainage and reduces soil compaction. |
How to ensure healthy growth when transplanting black seeds
- Feed them well: Fertilize with a balanced mix of nitrogen, phosphorus, and potassium.
- Keep pests at bay: Use organic sprays or companion planting with marigolds.
- Check moisture daily: Dry soil stunts growth, but overwatering is just as bad.
5. Troubleshooting and Optimization
How to improve plant survival while transplanting black seeds
The first week is critical! Here’s how to help:
- Shade: Protect seedlings from direct sunlight for a few days.
- Mulch: Keeps the soil moist and cool.
- Support: Use small stakes to prevent bending or breaking.
Bullet Points: Common Problems and Solutions
- Yellowing leaves: Likely due to overwatering—reduce it.
- Wilting: This could be transplant shock; water lightly and add shade.
- Slow growth: Soil may lack nutrients; add compost or liquid fertilizer.
Conclusion
Transplanting black seeds can transform your gardening results. By following these steps, preparing the soil, and avoiding common mistakes, you’ll set your plants up for success. Remember, patience is key—healthy growth takes time. Share your transplanting experiences and learn more at BlackElix.com for expert tips and insights. Let’s grow together!